5 Great Ways To Perfecting Your DIY Dried Flowers
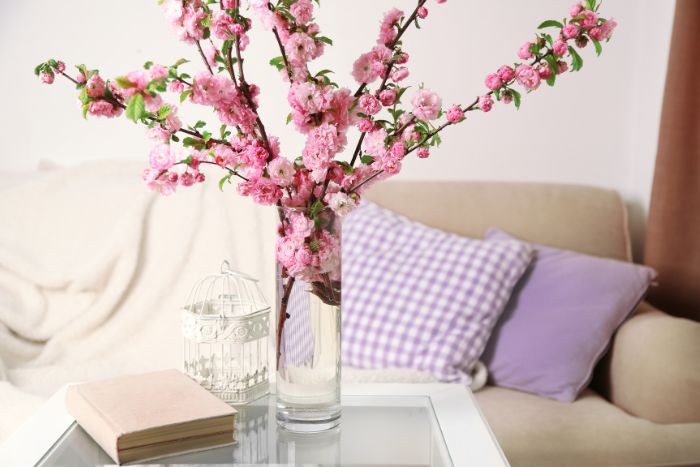
If you haven’t noticed, recently dried flowers are everywhere in home decor! It’s one of the biggest home trends at the moment. I love going to East London’s flower market, and a few stands were selling dried flowers, and they were the busiest stands in the market.
Home retailers such as H&M Home have jumped in on selling dried flowers. But if you’ve seen the prices, the dried flower bunches and stems are quite expensive.
The thing is, it’s very simple to DIY dried flowers yourself instead of buying. You can either let nature do it’s thing by hanging them to dry. Alternatively, there are other ways to speed up the drying process. I’ve been looking into the best ways of drying flowers for myself.
Depending on the type of flowers and what you’ll be using them for, different methods will work best. Always pick fresh flowers when preserving and drying them for the best results.
Here are the best ways to DIY dried flowers at home…
DIY Dried Flowers: Best Methods
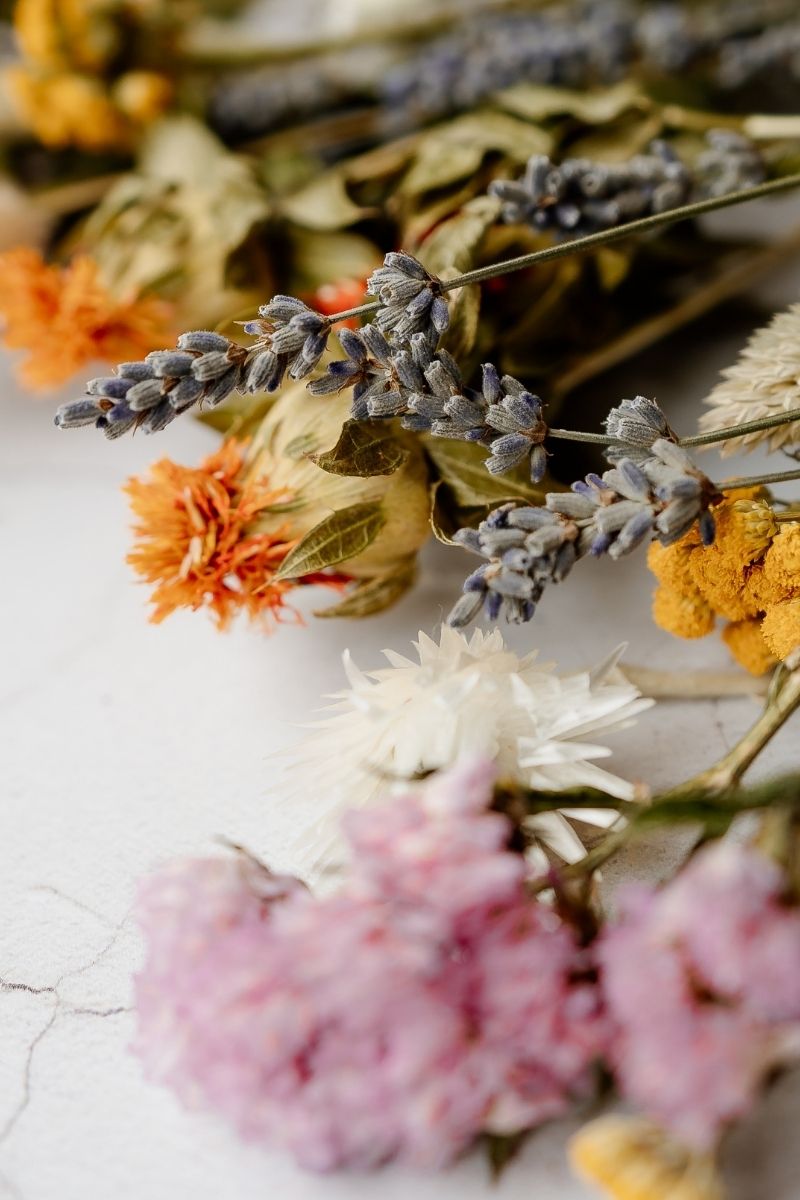
1. Air Drying Method
The simplest method for drying your flowers is to take a few flower stems and tie them with some rope or twine, and hang them upside down to dry. Preferably keep in a darker area, like a closet, to stop the colour from fading in direct sunlight.
Make sure that wherever you store the flowers, it isn’t too humid. This method for drying flowers does take at least a couple of weeks. But they’re so pretty when completely dried! Lightly spray with hairspray to keep the dried flowers from crumbling.
Use a single flower stem for a wabi sabi vibe or a few stems for a vintage romantic feel.
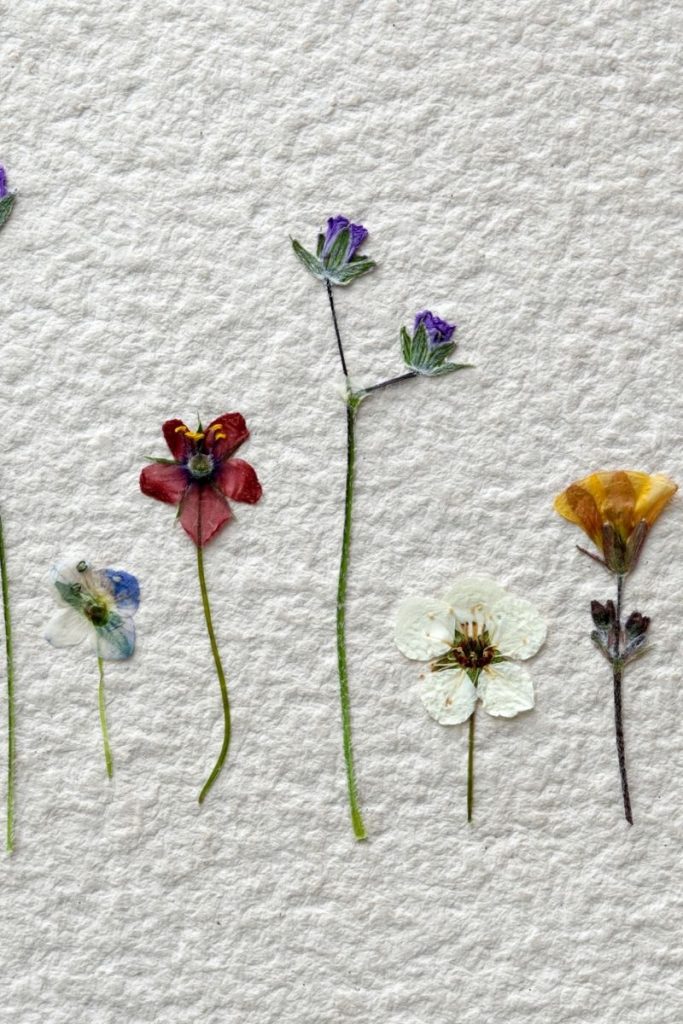
2. Pressing Flowers Method
If you’re looking to do something a little more creative with your dried flowers, like a piece of art, then pressing your flowers is a good option. This method will take a couple of weeks to complete, but there’s not much to it. All you need is some heavy books to apply the pressure.
Open the book and put in a piece of paper to protect the pages of the book and the flowers. Using parchment paper also works great! Close the book and put a couple more heavy books, like coffee table books, on top to increase the weight.
Of course, you can use a traditional flower press as well, instead of using your books to press the flowers.
Flowers with a high water content, like roses, don’t work well with this method. I once tried to press a rose and just got a mouldy mess a couple of weeks later!
For pressing larger and thicker flowers like roses or peonies, individually pick the petals off instead. By plucking out the petals from the middle of the flower, which will reduce the water content. But you should still get the overall shape of the whole flower.
3. Using Silica Gel
Silica gel is a drying agent you can get from your local craft shop. Use a shallow plastic container and place a layer of the silica crystals at the bottom about 1.5 inches, then place your flower blooms on top. (This is method is only for the blooms, not the stems).
Cover the flower blooms with another layer of crystals on top and seal with the lid for the container.
Using the silica gel takes 2 – 7 days, depending on the flowers you’ve chosen. This method is good if you would like a softer texture for your dried flowers. It’s the best method for keeping the colour in dried flowers.
4. Dried Flowers Microwave Method
Using the microwave was an interesting technique I found out for drying flowers. Place your flowers between two pieces of kitchen roll and put a heavy plate on top of the kitchen roll. Turn on the microwave for 10 – 30 second intervals, depending on the power setting of your microwave.
Make sure you check on the flowers after each interval to make sure the flowers aren’t scorched and crumbling. When you feel the flowers are dry enough, leave them to cool.
5. Oven Bake Your Flowers
Oven-baking your flowers is best for more creative uses, like potpourri or other creative projects. If you haven’t got the time for air drying or pressing and you don’t mind a bit of loss in colour, then baking is a good option.
Remove all the leaves and cut stems off so only the top blooms are left. Then spread flowers on a baking rack and put them on a low heat for a couple of hours. For a convection oven, set the temperature around 175 degrees. 150 to 200 degrees Fahrenheit.
The smaller the flowers, the less time they’ll take. If you have a mixture of small and large flower blooms, check on them every 30 minutes to make sure they don’t burn. And take out the smaller flowers first. The larger blooms should take no longer than 3 hours on a low setting.
Best Flowers to Dry
- Astilbe
- Baby’s Breath
- Coneflower
- Eucalyptus
- Globe Amaranth
- Globe Thistle
- Hydrangeas
- Larkspur
- Lavender
- Pansies
- Peony
- Poppies
- Roses
- Statice
- Strawflower
- Stonecrop
- Yarrow
You can dry pretty much any flower you like. It just depends on the shape, the type of flower. Some flowers will take longer to dry out than others.
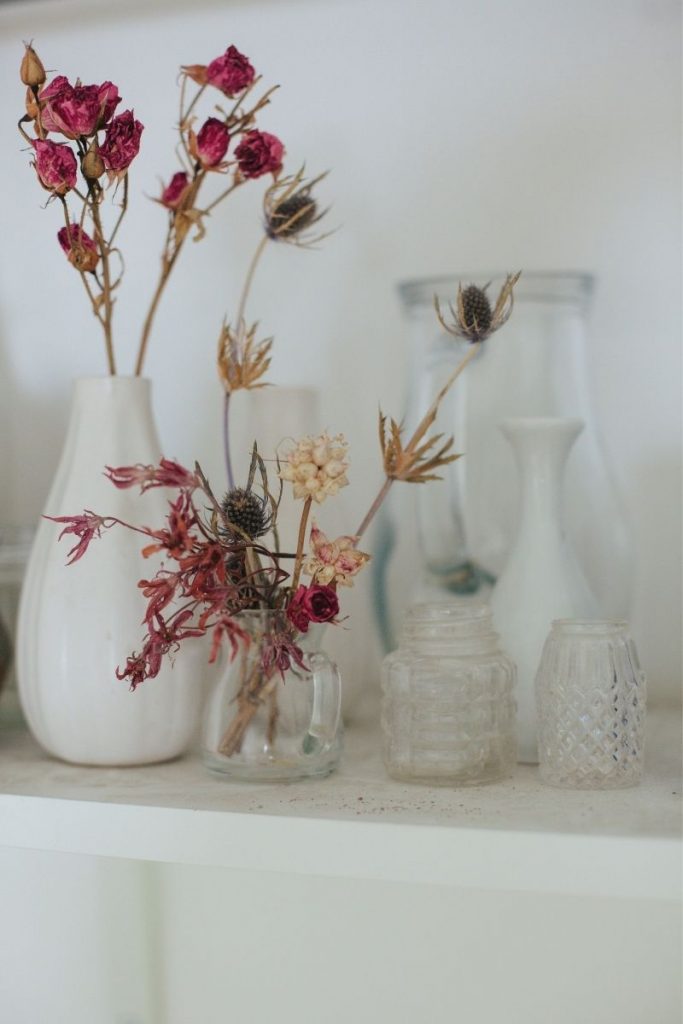
Dried flowers are great for decorating in the Autumn season, but can be used for home decor all year round. Are you a lover of fresh flowers or dried flowers for home decor? Or does it depend on your mood and the season of the year?
Hope these DIY dried flower tips helped! Enjoy arranging your dried flower bouquets at home; they’ll look beautiful.
Chloe

This post contains some affiliate links which I may make a small commission from should you purchase something. For more information check out the disclosure and terms and conditions page.
- Why Slow Decorating Is The Way Forward From Design Overwhelm
- 5 Easy Tips To Layering Rugs In Living Room
- July 4th Summer Sales Furniture Favourite Picks
- 25 Super Creative Cloffice Ideas: Space Saving Work Setups
- 9 Amazing Tips To Create Your Japandi Living Room