7 Easy Steps To Creating A Canva Vision Board
Creating a vision board is one of my favourite things to do. I like to have my vision board in a few different places so I like to create a Canva vision board. That way I can have my vision board on my desktop, phone and even print out a couple to put on my wall.
I use Canva for a lot of things. For creating mood boards, interior guides and a vision board for my goals. It’s all very similar but it just depends on what you want to create.
Even with the free version of Canva it comes with photos and templates you can use. Using a Canva template can save a lot of time. You just drag in your own images and change the words to fit with your goals.
This is my easy step by step guide on how to make your own vision board on Canva…
Steps For Creating A Canva Vision Board
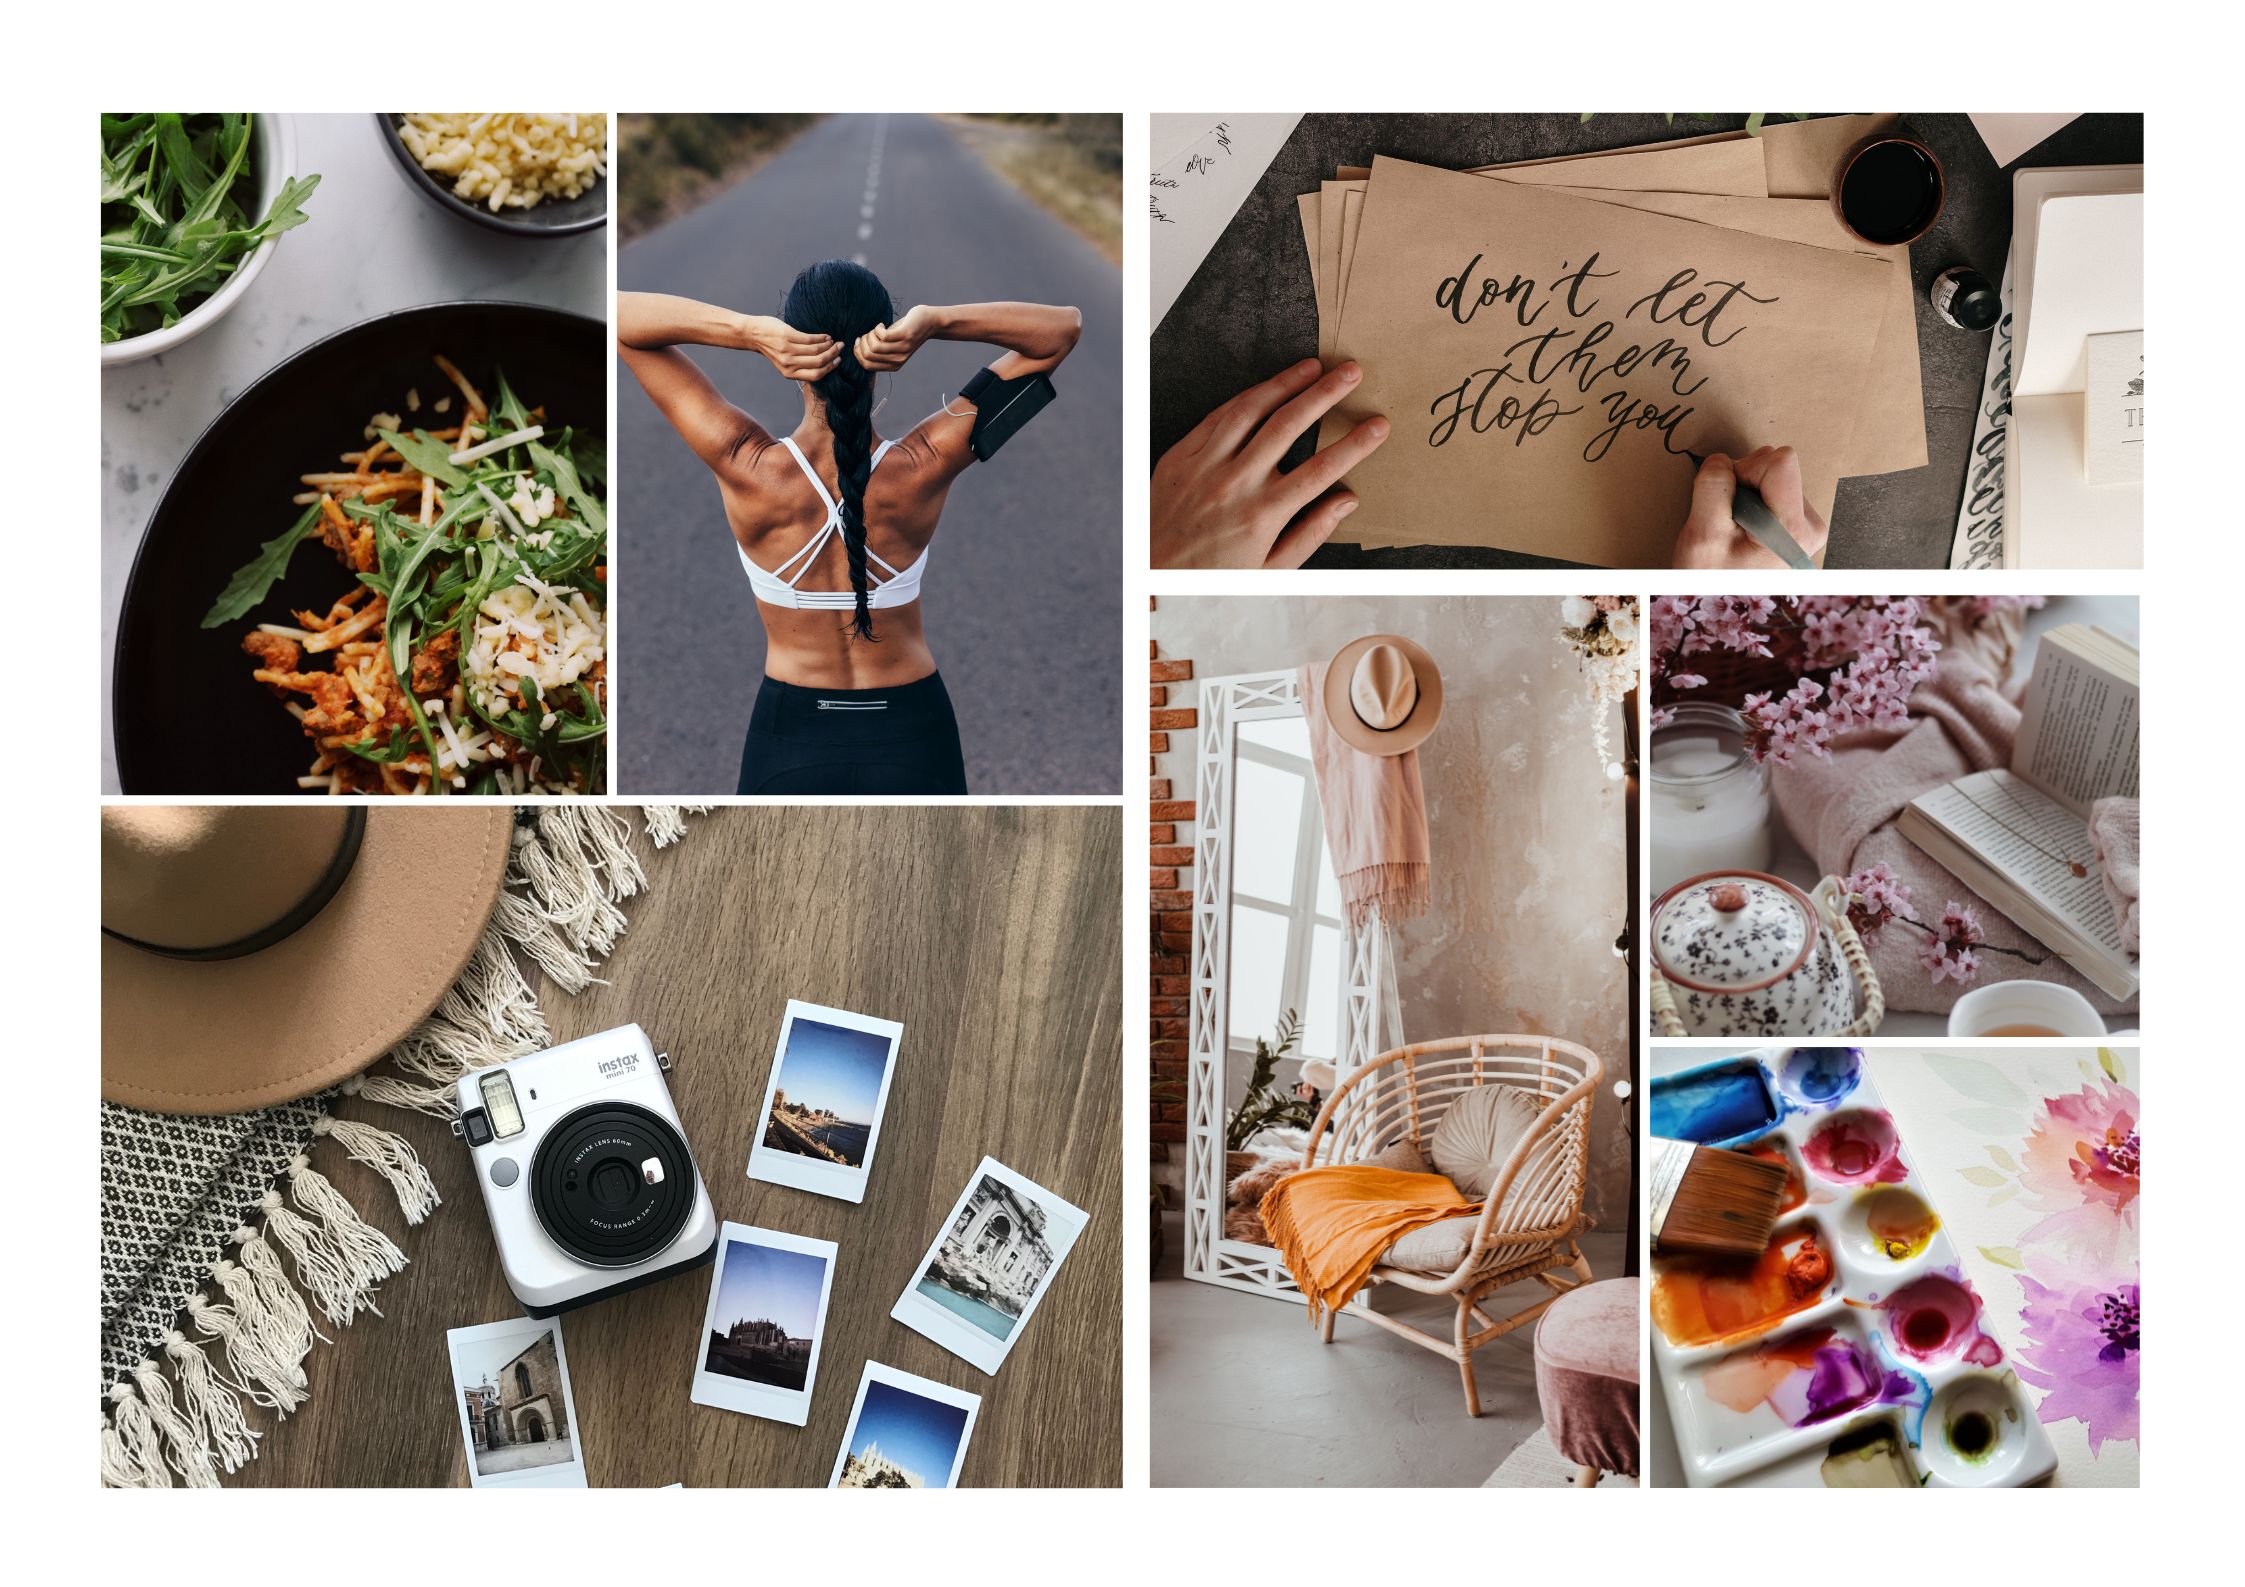
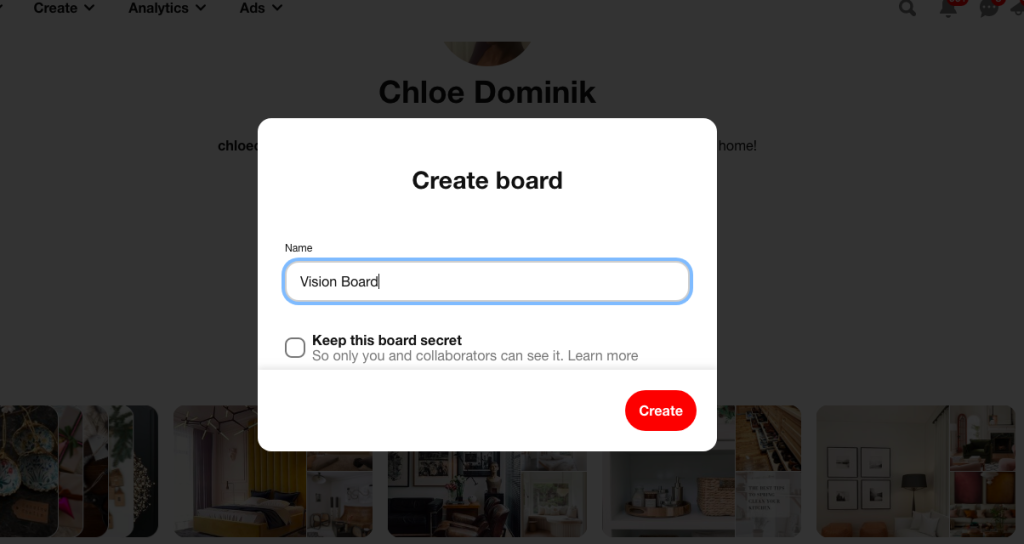
1. Pinterest images
Put together all your images you’ve found. The easiest way is to make a board on Pinterest. With Pinterest images you’ll have to download them to a computer folder first and then upload them to Canva.
To download your Pinterest images to your computer click on the image in Pinterest. Click on the three dots next to the image top right. And click on “Download image”. Save all your images to one folder on your computer to stay organized.
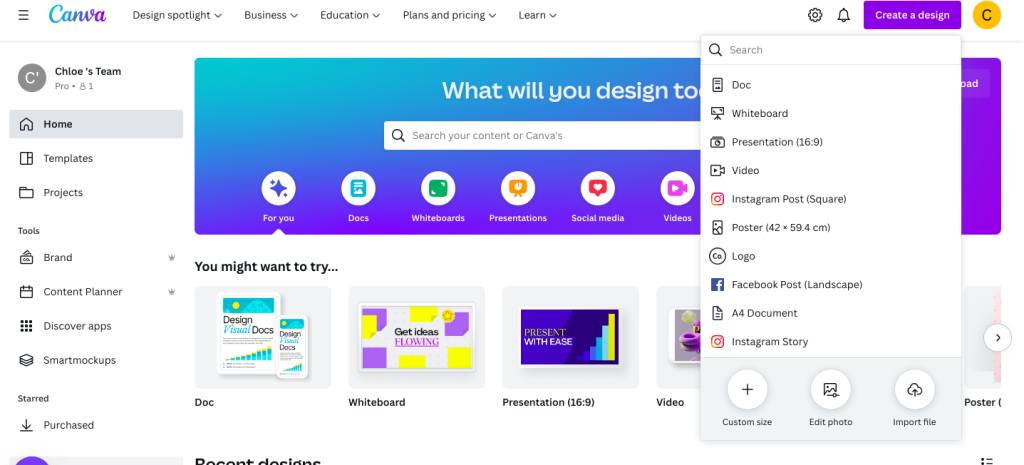
2. Create your canva design
Choose your size for your vision board by clicking “Create a design”. Decide whether you’d like either portrait or landscape. You can choose from Canva’s already determined paper sizes and options like desktop wallpaper, phone wallpaper, poster size and letter size etc.
I like to use poster size and then change it to a horizontal position. You can go to “Custom” and choose 59.4cm width x 42cm height for a poster size. Or choose whatever size you like.
3. Upload your own photos
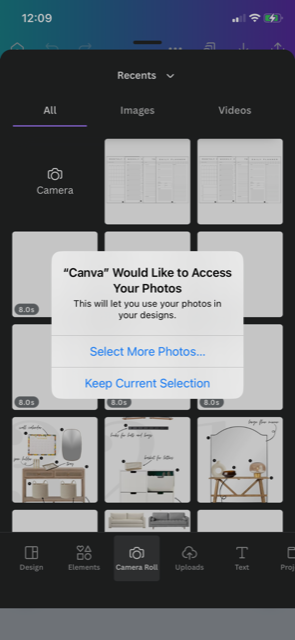
Don’t forget to upload any photos you’ve taken on your phone to Canva that you’d like to use too. You can log on to the desktop version of Canva and at the bottom of the screen there is “Camera Roll” and allow access to your camera.
One of the best things about using a design app, is that you can usually access your designs on your phone and on your desktop.
4. Choose your layout
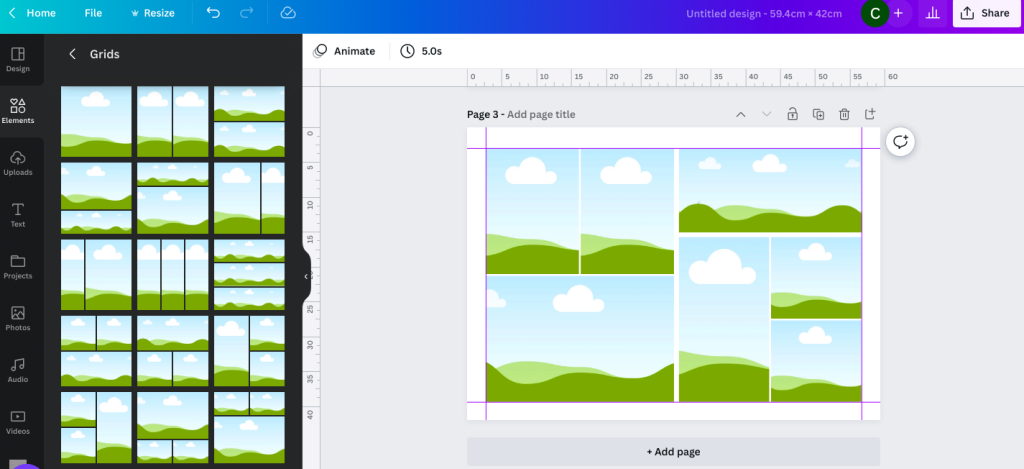
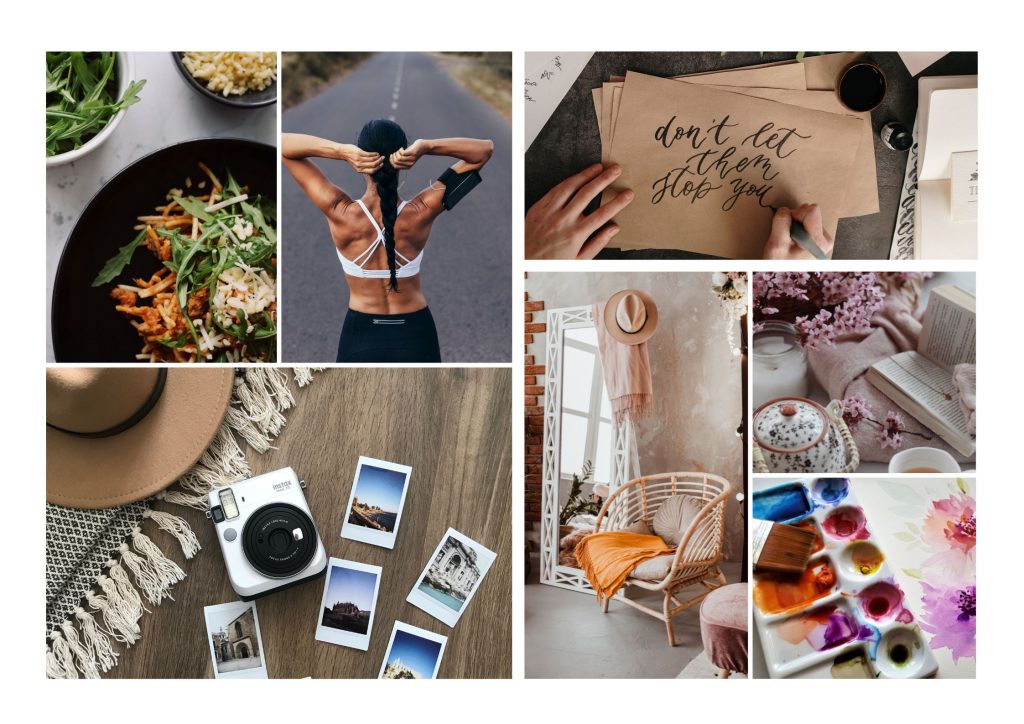
The fun part is choosing your layout. You can freestyle with your design and experiment with your image sizes. Or choose a Canva template. An easy option is to go to Elements in Canva and choose Grids.
This will set you up with a multiple image design that you can play about with. And you can choose more than one grid to put on your page. In this layout I’ve used 3 different grid layouts on the page.
You can adjust the size of the spacing between the grids. As well as the colour instead using white.
5. Create Your Vision Board
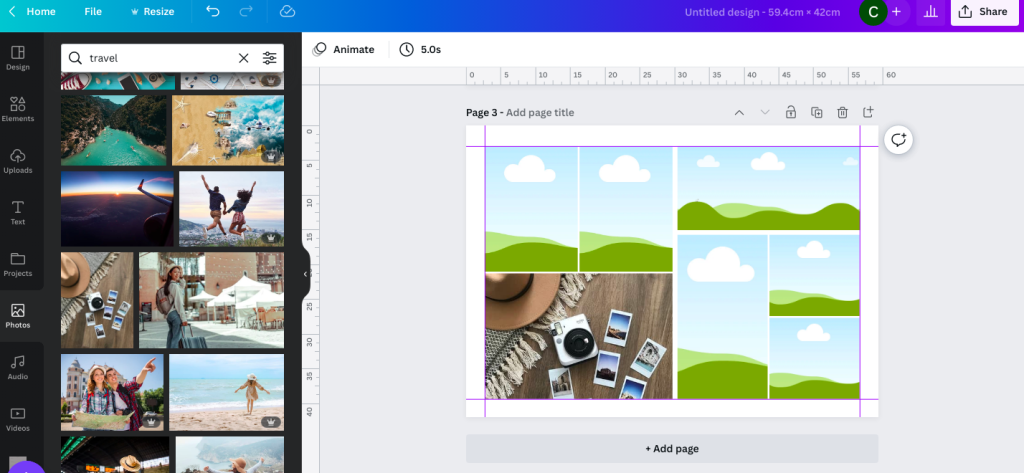
Now you’ve chosen your layout you can start dragging in your images into your Canva vision board. You can play about the sizing of images and move and crop them into your ideal positions.
You can add text to your vision board. Or just keep it all images for a minimal style.
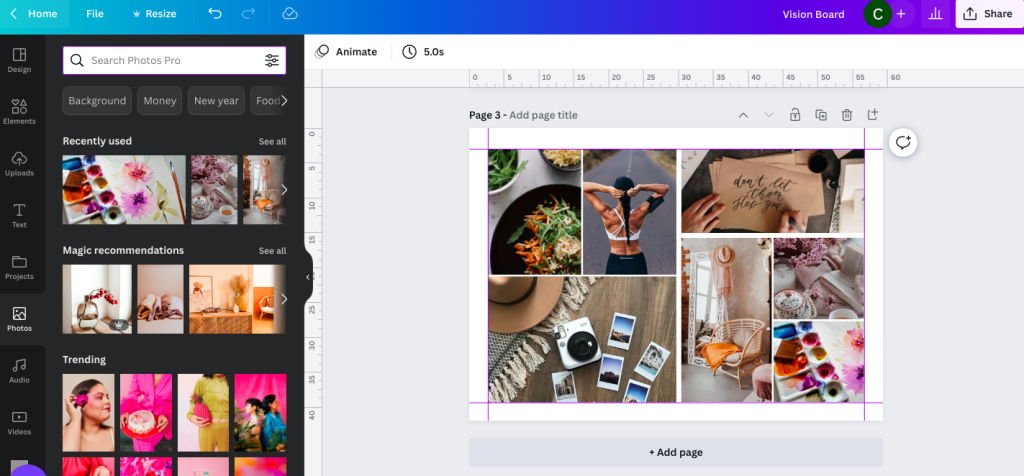
6. use the canva library
Remember Canva has lots of free photos and videos you can use for your vision board. With the Canva Pro account you’ll be able to unlock even more photos and video for your vision board.
Side note using videos are a great way of making your virtual vision board interactive. You can use them for a vision board on your desktop and phone.
7. Download your vision board
You can download your vision board as PDF, JPEG or PNG. Saving it as JPEG will be the smallest file size to download your vision board. If you have used video to create an interactive vision board download it as an MP4 video.
Placing your vision board in more than one place is a great reminder to have around you. With a Canva Pro account you can copy and resize your vision board to other dimensions you’d like.
Another way to resize your vision board is to upload your vision board to Canva after downloading. Then create a new design with your desired dimensions and drag your vision board on to that page. Size your vision board down or enlarge to fit your new size.

Other Ways To Use A Canva Vision Board
A vision board is a great way to get your ideas and goals down for many areas in life. In the same way you can use a mood board to put together a plan. They’re generally the same thing used in slightly different ways.
You can use them to plan and decorate your home, party planning or get your business ideas down. And of course focus on your dreams and goals, short term and long term. There are so many ways to use a vision board or mood board and using Canva is just one way you do it.
If you need to come back to this Canva vision board guide then save the Pinterest pin below!
Chloe
This post contains some affiliate links which I may make a small commission from should you purchase something. For more information check out the disclosure and terms and conditions page.
- Why Slow Decorating Is The Way Forward From Design Overwhelm
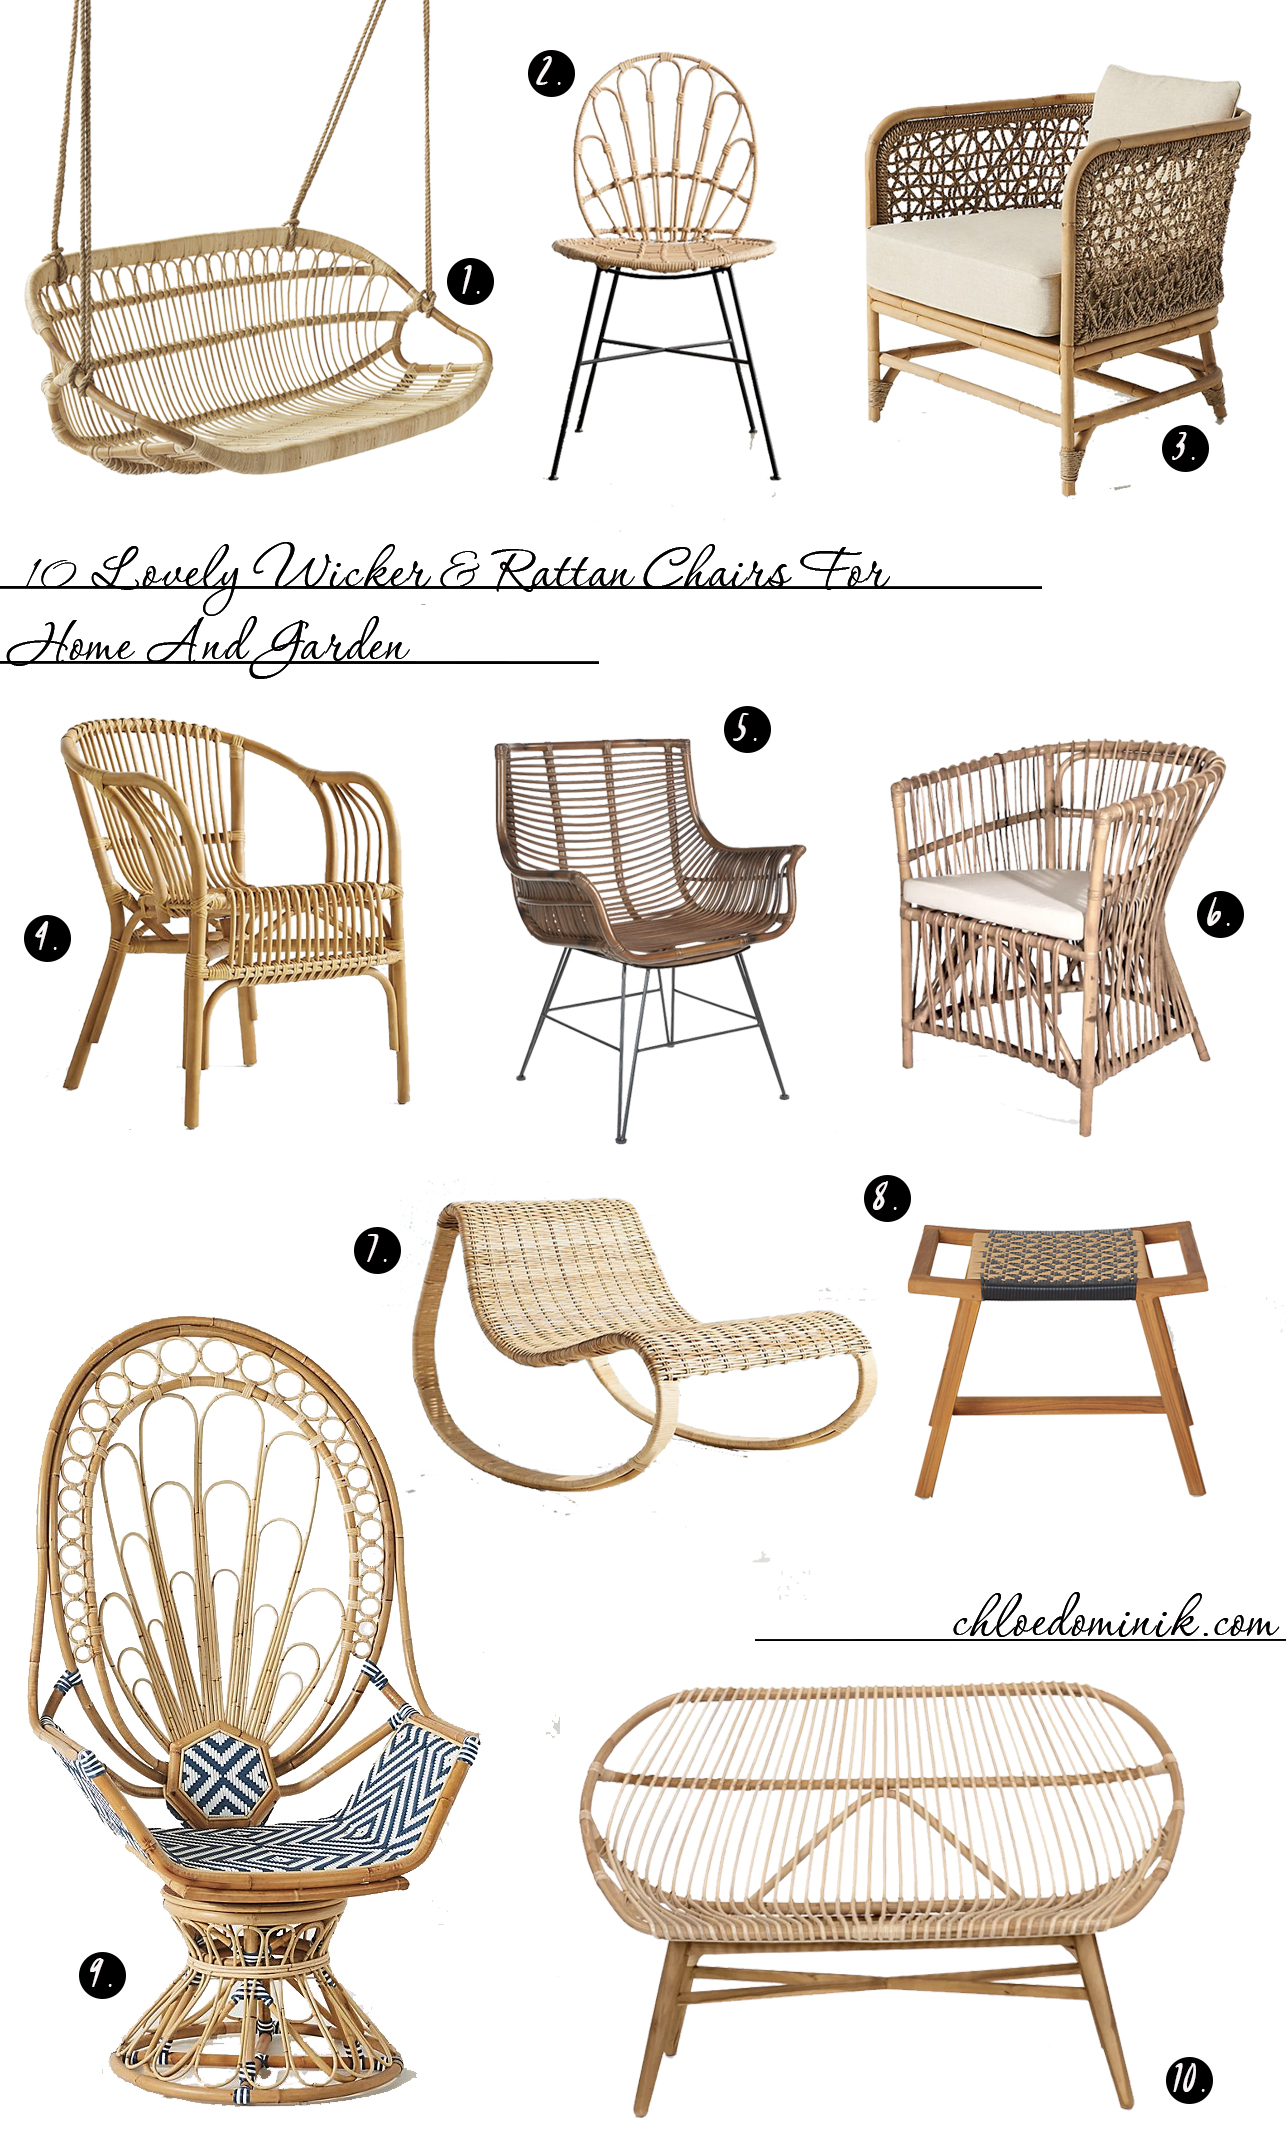
- 5 Easy Tips To Layering Rugs In Living Room
- July 4th Summer Sales Furniture Favourite Picks
- 25 Super Creative Cloffice Ideas: Space Saving Work Setups
- 9 Amazing Tips To Create Your Japandi Living Room