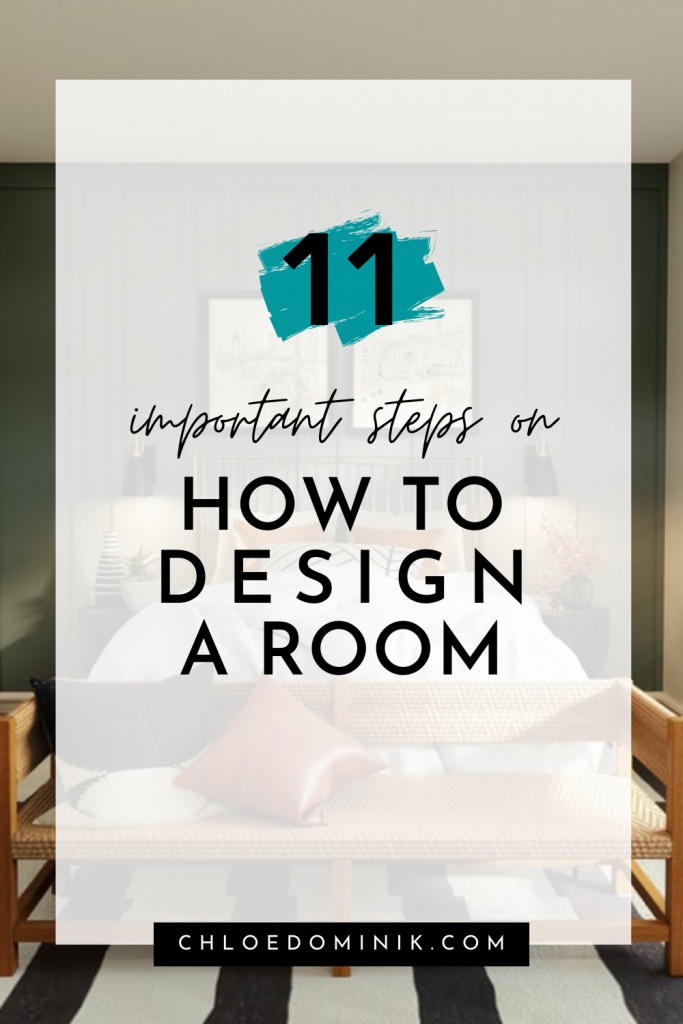
11 Important Steps On How To Design A Room
When it comes to designing a room it can be met with excitement and overwhelm of equal amounts! The excitement being you get to choose exactly how you want the room to be. The overwhelm? How to design a room? Where to start?
It’s easy to get carried away with just the shopping. Which is my favourite part of designing a room too. It doesn’t even have to be actual shopping! I love to browse the shops and go online, which often gives me a new ideas to decorate with. It’s definitely fun! But shopping without a plan can lead to way more mistakes than necessary. And way more spend too!
My next favourite next to shopping? Is planning! I know, call me a design geek but I love it! It’s where the design preliminaries are made. What makes the cut and what works with what and what doesn’t! There are some other important points along the way of course! Here are some steps on the best practice on how to design a room.
How To Design A Room
1. The Good, The Bad & The Ugly
First off address the good, the bad and the ugly. What things do you like about the room? This could be as simple as the amount of sunlight in the day. Maybe you have high ceilings. What features that are there can you work with? Write them all down!
Next come the things that you can’t wait to change. Write down everything you want (and can) change about the room. Remember to put down the reasons next to each point. Whether it’s a good point, something you want to keep. Or a bad point something you can’t wait to get rid of! Getting some clarity on the whys will help you in the later stages.
How do you want the space to feel after it’s finished? Write that down too. This will help you when you get to the inspiration stage.
2. The Space
What is the room going to be used for primarily? The kitchen or bathrooms already have their obvious functions. Whatever the room still consider how the space is currently being used. Who is going to be using it and how.
Open concept rooms will have multiple uses all within the one space. Zoning will help focus more on the needs of the different areas.
Think about your day to day routine currently and how you use the space. And more importantly is it working for you? This also gives a great opportunity to implement things that will help in the every day life. Who’s going to be using the space will inform the decisions on furniture and fabrics used. How and who uses the room is going to be key in how you design a room.
3. Wish List
Once you’ve had a think about how the space is used, start on your wish list. What are the items needed to complete your ideal room? Is there anything that needs an upgrade? Something that you’ve been far too long without? Write it down.
A wish list doesn’t mean that everything is a absolute guarantee. Number the importance of the items when you’ve finished. Decide what’s needed now and what can wait if necessary.
4. What’s Your Budget?
How much money are you going to put into this room? Work that out before you get started on your shopping list. You can allocate a certain percentage to furniture, decor, paint etc. When it comes to the actual shopping you’ll know where you can afford some give and take on items.
You might find an incredible furniture piece that might be a more than expected. If it’s a must have for you, you can adjust the spending in other areas.
5. Floor Plan
Make a floor plan! Double check the measurements when you’re measuring the space. Plan it out on a piece of paper. Having something is better than nothing. As long as you have accurate measurements of the space that’s all that matters! This will help you figure out furniture placement. And what can fit where. Don’t forget to include the ceiling height and the door entries as well.
Roomstyler is a free program you can use to create a plan and your own 3D room. You can also drop furniture and materials in so you can get a better idea of the space overall. If you have only have a 2D plan, taping out the dimensions on the floor of some of the bigger pieces might help.
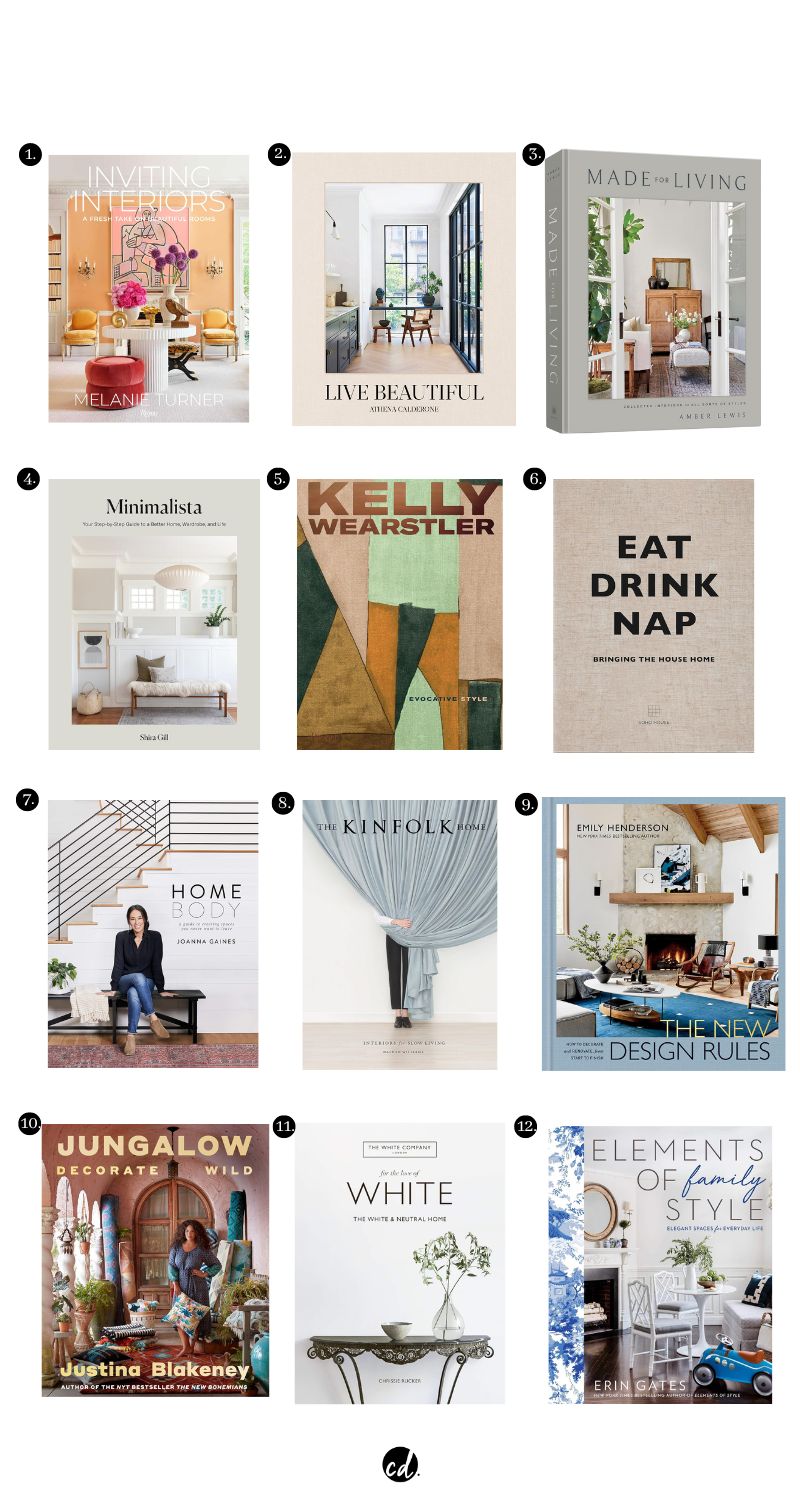
6. Get Some Inspiration
Another favourite of mine! The inspiration stage! What’s already out there? Have a look on Pinterest, Instagram and the design magazines to see what catches your eye.
Using an actual pin board or wall to print and put your images together will help too. If you have the space and some extra time. That way you can see all the inspiration together and move the around images.
Pulling together the inspiration you’ll should start to notice some colour, styles, patterns and themes popping up. You might find that a distinctive design style jumps out at you. Or a couple design styles that can work well together.
Either way take good note of what it is you’re saving. A lot of the time we have an idea of what we like in our heads. But that isn’t what translates. And we change too!
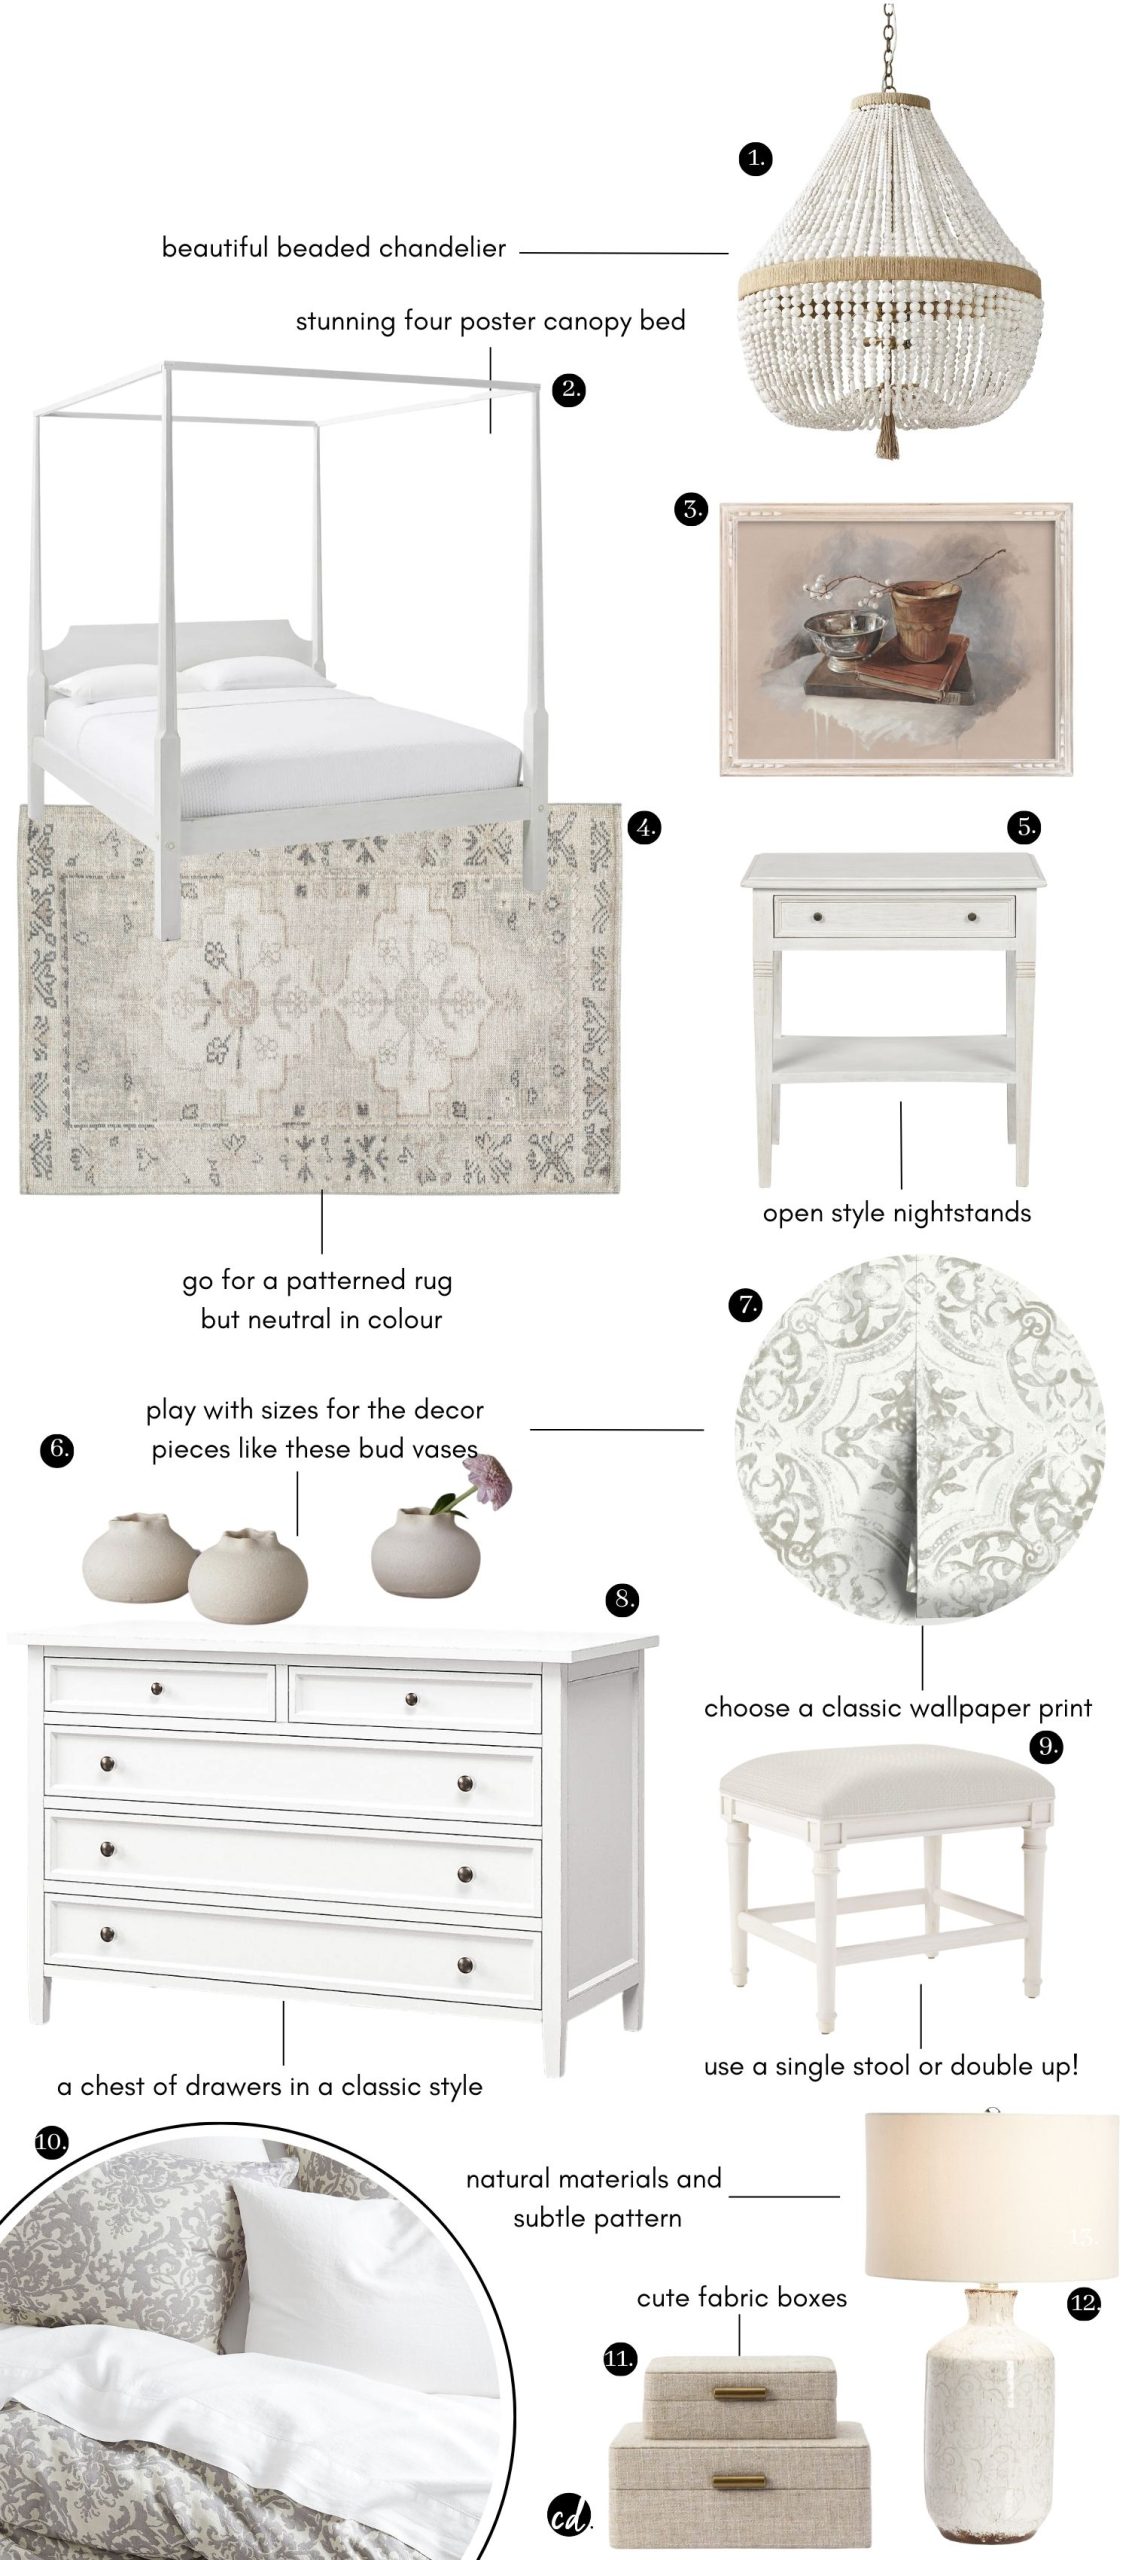
7. Create A Mood Board
This might be considered an extra step next to getting your inspiration. But I recommend creating a mood board still. With the inspiration stage you could go on and on.
Creating a mood board will help reign in all those ideas to just a few key ideas. The ideas that will work for you and your lifestyle. I use Canva to put together my mood boards. It’s really simple and easy to use.
I would put together 4 – 10 images maximum. You can write notes with the mood board as well if that helps. Print off your mood board or save as a PDF to your phone and computer.
Putting together a mood board doesn’t have to be complicated. There are some great apps you can use or your computer or phone. This is where you can have some fun before making your final decisions. And seeing if everything works well together!
8. Samples
Get real tangible samples whenever you can! Any trial periods that you can take advantage of for bigger items use as well. Seeing the colour and materials in person there will be a big difference in how it looks on screen. Not only how it looks and feels in person, but how it looks in the room. Once you’ve finalized on the samples you can pick you can get out the paint swatches.
9. Shopping
When it comes to shopping keep close your mood board. You might want to keep some samples and swatches with you too. Always reference your mood board and samples! This will keep you on the straight and narrow for your interior shopping!
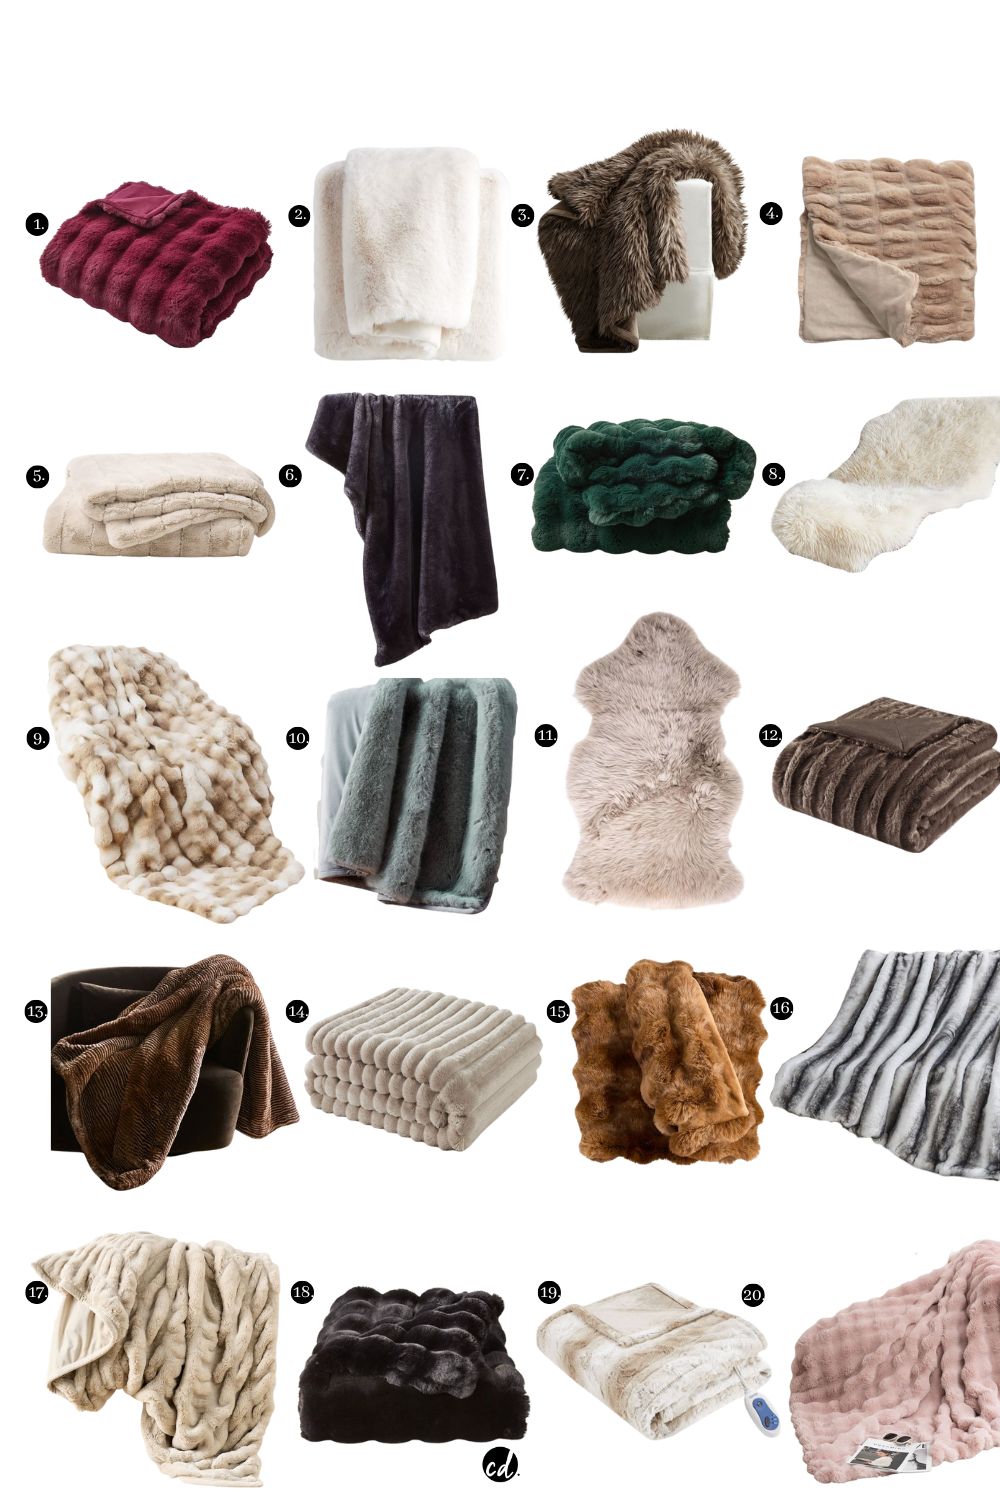
10. Accessories
Accessories are the finishing touches, so they are important. It’s all in the details. This can be a mix of new things and personal items you already have. Styling the room is the fun part!
11. Don’t Rush It!
I think when it comes to designing a room, the usual thought is, everything needs to be finished straight away. This is usually the best case scenario. Everything finished one time! You want the room to feel lived in and that it’s yours. Leave space for some to future moments and memories. Is a room ever fully finished anyway?!
Buying every single item from the furniture down to the decor in one fail swoop might not be the best idea regardless. You might have to wait a bit longer for those important pieces to come in. It’s important you buy things that you only love! So rushing in items just for the sake of a completed room isn’t always the way to go. Sometimes patience is needed!
So there you have it, my top tips on how to design a room! Hope they helped!
Chloe
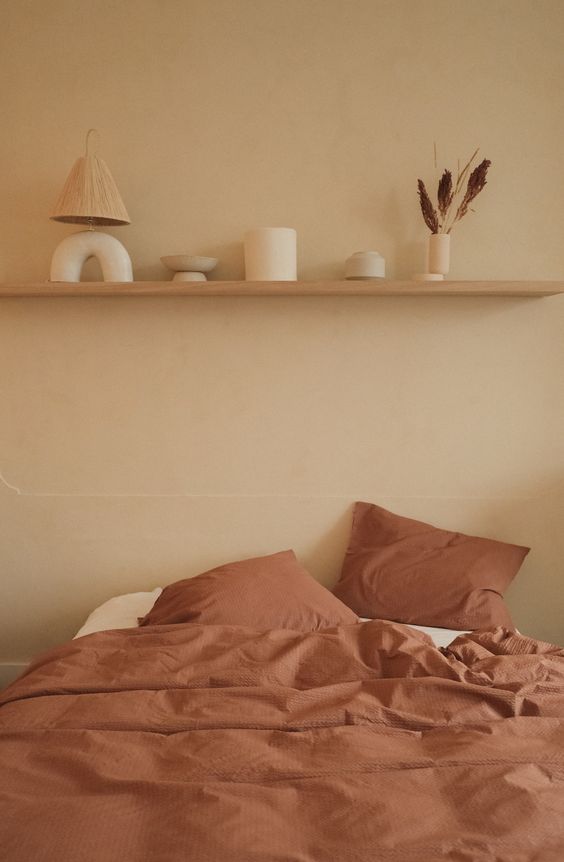
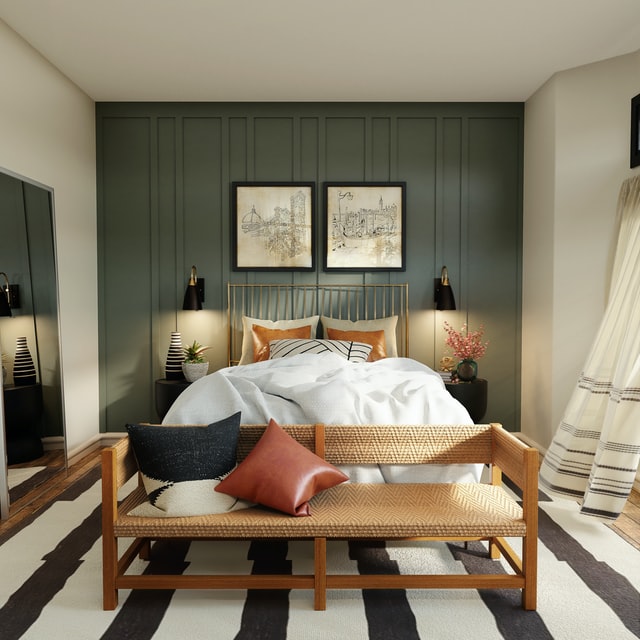
Feature Image: Unsplash
This post contains some affiliate links which I may make a small commission from should you purchase something. For more information check out the disclosure and terms and conditions page.
- 12 Beautiful Best Woven & Rattan Chairs For A Relaxing Feel
- 16 Oval Shaped Dining Tables: Tips & Best Picks
- Why Slow Decorating Is The Way Forward From Design Overwhelm
- 5 Easy Tips To Layering Rugs In Living Room
- July 4th Summer Sales Furniture Favourite Picks